SB Vehicle Skinning Tutorial
Jump to navigation
Jump to search
JustSomeGuy's SB Skin-making tutorial
- You don't need paid Photoshop: it's perfectly possible to create SB Pro skins in Paint.NET or GIMP, both of which are freeware.
- You need a base skin. If using Photoshop or an editing program capable of opening the *.psd format, layered skin templates can be downloaded here. If using a program unable to open the *.psd format, base skins can be "made" using existing *.dds files. However, these files have been saved in a compressed format that will result in a less that optimal result. Additionally, unless you only want to add details, typical "woodland" skins already have their own camo patterns which probably wouldn't fit to the new ones you want to create. The rest of this tutorial will assume you are using this latter method, but many of the techniques noted apply to the full templates as well. Therefore:
- Copy a skin of the vehicle you want to mod (*.dds file) from the "<SB Pro PE folder>\textures\desert" folder.
- Open the copy in Paint.NET (or Photoshop).
- Reduce the saturation of the desert skin to 0, to get rid of the "sand" color. Behold: a gray, non-camo base layer of AFV details is born.
- Paste the .dds file of the vehicle you want to mod from the "<SB Pro PE folder>\textures\woodland" folder as a new layer.
- Move the woodland layer beneath the desert layer.
- On the "desert" layer, delete all the non-camo pieces, eg. MG barrel, head&brake lights, gunner sights, wood, etc. Thus, they will be replaced by the details from the "woodland" layer underneath.
- Create a new layer, above the desert layer. This will be your actual camo layer.
- Now, your graphics editing program should look like this ("U2500" is the camo layer, "sedivak" the gray, ex-desert one, "Layer 4" is the woodland layer with color details like wheels, lights etc.):
- Set your camo layer's properties to blending mode "overlay". That way, it would "combine" with the underlying AFV details from the "gray" (ex-desert) skin layer.
- Get as much as possible reference images of the camo pattern you want to model. When skinning a new vehicle, get hi-res photos of other AFVs the army of your choice is using to get a feeling for what their camo pattern looks like, especially near the edges and ends of the vehicle.
- Create your camo pattern. Itself, it would look like this:
- The texture itself is not proportional. What that means is that parts of the model which seem to be equally long on the texture are actually of different length on the model. That means that things which look directly underneath on the texture are way off on the model. So:
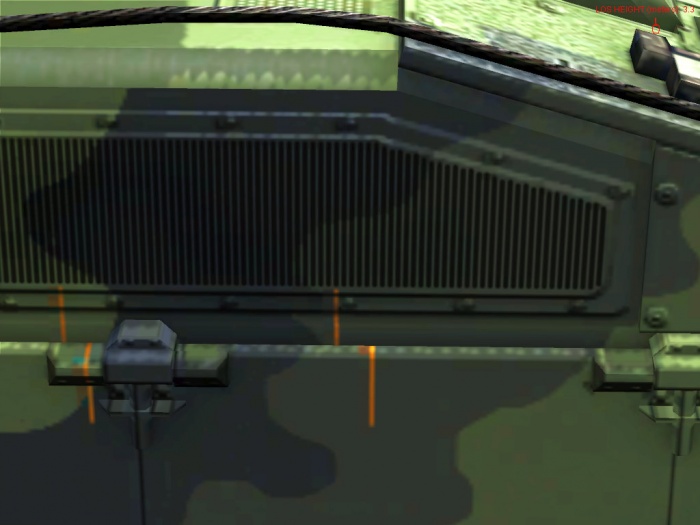
- Debug the texture! Pixel by pixel, you have to align the camo pattern on the model's various surfaces. You could make the process a lot faster by adding another layer of temporary reference points like this:
- Which allow you to do the corrections in "one edit, one hit" pattern. Anyway, this phase could and would take hours and hours; for example, the Ulan took me about 10 hours of debugging, because each time, you have to "compile" the skin (see further points 17 through 19), restart SB Pro editor, have it re-load the skin, wonder around it, taking screenshots of things to correct and again and again and again.
- It might happen that your are clueless of what certain portion of the texture represents on the model. In such a case, it's again bright colors what helps you. Create a spots of different colors or even numbers on the texture, save it's print-screen as a legend, then see it in-game, save screenshots, remove the colors/numbers and debug:
- When ready to try your skin in-game, merge the layers and save the resulting texture/image as .dds with options "DXT1 (no alpha)" and "generate mipmaps".
- Put the resulting .dds in the proper <eSim games>\mods folder.
- Select the appropriate faction's camo pattern in SB PRO's editor, insert the vehicle, view it.
- Something is still wrong? Go to step 15.
- Otherwise, rejoice upon the beauty of your final creation and create a screenshot:
- Create a readme file, ZIP it together with the .dds skin (using legacy zip algorithm, otherwise, some users might be unable to unpack it) and rename the resulting ZIP archive to "<AFV type> <your mod> (<SB version>), eg. "Czech Ulan (3.025)".
- Upload the archive to the corresponding section of steelbeasts.com and add the print-screen you took earlier as a thumbnail.
- Wait till everything gets approved by moderator.
- Mission accomplished!


